I recently published a new version of my RVT To IFC online converter. Among other modifications, this new version now uses the Autodesk Design Automation API instead of the Model Derivative API.
What is this Design Automation API? It is a set of features of Autodesk Forge to run a Revit add-in on the cloud. Instead of executing an add-in on your own Revit on your local computer, you upload this add-in on the Autodesk Forge server where it is executed in a Revit engine specially designed to run in this environment. It allows you to manipulate Revit files without having Revit locally installed.
In this two-parts series, we will see how this API works and build together a Forge plugin to export a Revit file to IFC without having to open Revit.
To do so, we will need an Autodesk Forge application and a custom Revit add-in to upload to this application. This application will be exactly the same that the one running RVT To IFC.
Most of the explanation presented here came from the Design Automation official documentation.
Part 1: Create the Revit plugin
We start by creating a new class library on Visual Studio that we call “RevitToIFCBundle”. In this project, we add the “RevitAPI.dll” and set its “Copy Local” property to “False” (1)

We then add the “Autodesk.Forge.DesignAutomation.Revit” Nuget package to our soution.
Since we will be running this plugin on a headless server, we cannot use the RevitAPIUI.dll (the Revit interface) or any other UI-based libraries like Windows Form or WPF.
We also need an .addin file for our application, with the type set as “DBApplication”:
<?xml version="1.0" encoding="utf-8"?>
<RevitAddIns>
  <AddIn Type="DBApplication">
    <Name>RevitToIFCBundle</Name>
    <Assembly>.\RevitToIFCBundle\RevitToIFCBundle.dll</Assembly>
    <AddInId>1ac3f34e-453b-4183-968f-47c753f60a89</AddInId>
    <FullClassName>RevitToIFCBundle.RevitToIFCBundleApp</FullClassName>
    <Description>"Export to IFC"</Description>
    <VendorId>BIM42</VendorId>
    <VendorDescription>
    </VendorDescription>
  </AddIn>
</RevitAddIns>
We create a new class “RevitToIFCBundleApp” where the bulk of our add-in will reside. This class inherit from IExternalDBApplication. Since we won’t have access to the Revit interface when running our plugin, we won’t have any button to start our application. To handle this, we implement two method, OnStartup and OnShutdown :
        public ExternalDBApplicationResult OnStartup(
          Autodesk.Revit.ApplicationServices.ControlledApplication app)
        {
            DesignAutomationBridge.DesignAutomationReadyEvent += HandleDesignAutomationReadyEvent;
            return ExternalDBApplicationResult.Succeeded;
        }


        public ExternalDBApplicationResult OnShutdown(
          Autodesk.Revit.ApplicationServices.ControlledApplication app)
        {
            return ExternalDBApplicationResult.Succeeded;
        }
The entry point to our code is handled by the DesignAutomationReadyEvent handler. The DesignAutomationReadyEvent is raised when the Revit engine is ready to run our add-in.
        public void HandleDesignAutomationReadyEvent(object sender, DesignAutomationReadyEventArgs e)
        {
            e.Succeeded = true;
            DeleteAllWalls(e.DesignAutomationData);
        }
We finally create a ExportToIFC function where our code resides. The code here is straightforward, we get the Revit document, create a transaction, and export the model to IFC.
The entire source for this plugin is available on Github.
Part 2: Debug the add-in locally
Before uploading the add-in to the Forge server, we need to debug it locally. To do this, we need the local debug tool for Design Automation for Revit.After cloning the repository, we build the solution and get a Revit plugin.
We also need to copy the .addin file and the .dll of the plugin to the Revit add-in folder. We add these lines to the Post-Build even in Visual Studio:
if exist "$(AppData)\Autodesk\REVIT\Addins\2021"
         copy "$(ProjectDir)*.addin" "$(AppData)\Autodesk\REVIT\Addins\2021"
if exist "$(AppData)\Autodesk\REVIT\Addins\2021"
         copy "$(ProjectDir)$(OutputPath)*.dll" "$(AppData)\Autodesk\REVIT\Addins\2021"
We also add Revit.exe as the starting program for our debugging session (1).
We also need a working directory that will simulate the working directory of the Forge server. We add this directory in Visual Studio, like below (2). In this case, our plugin will need one input file, the Revit file to be converted to IFC, we add its path in the command line arguments (3).

We can then start the debugging session on Visual Studio. The input file opens, we go to the Add-ins tab and run the DesignAutomationHandler command:
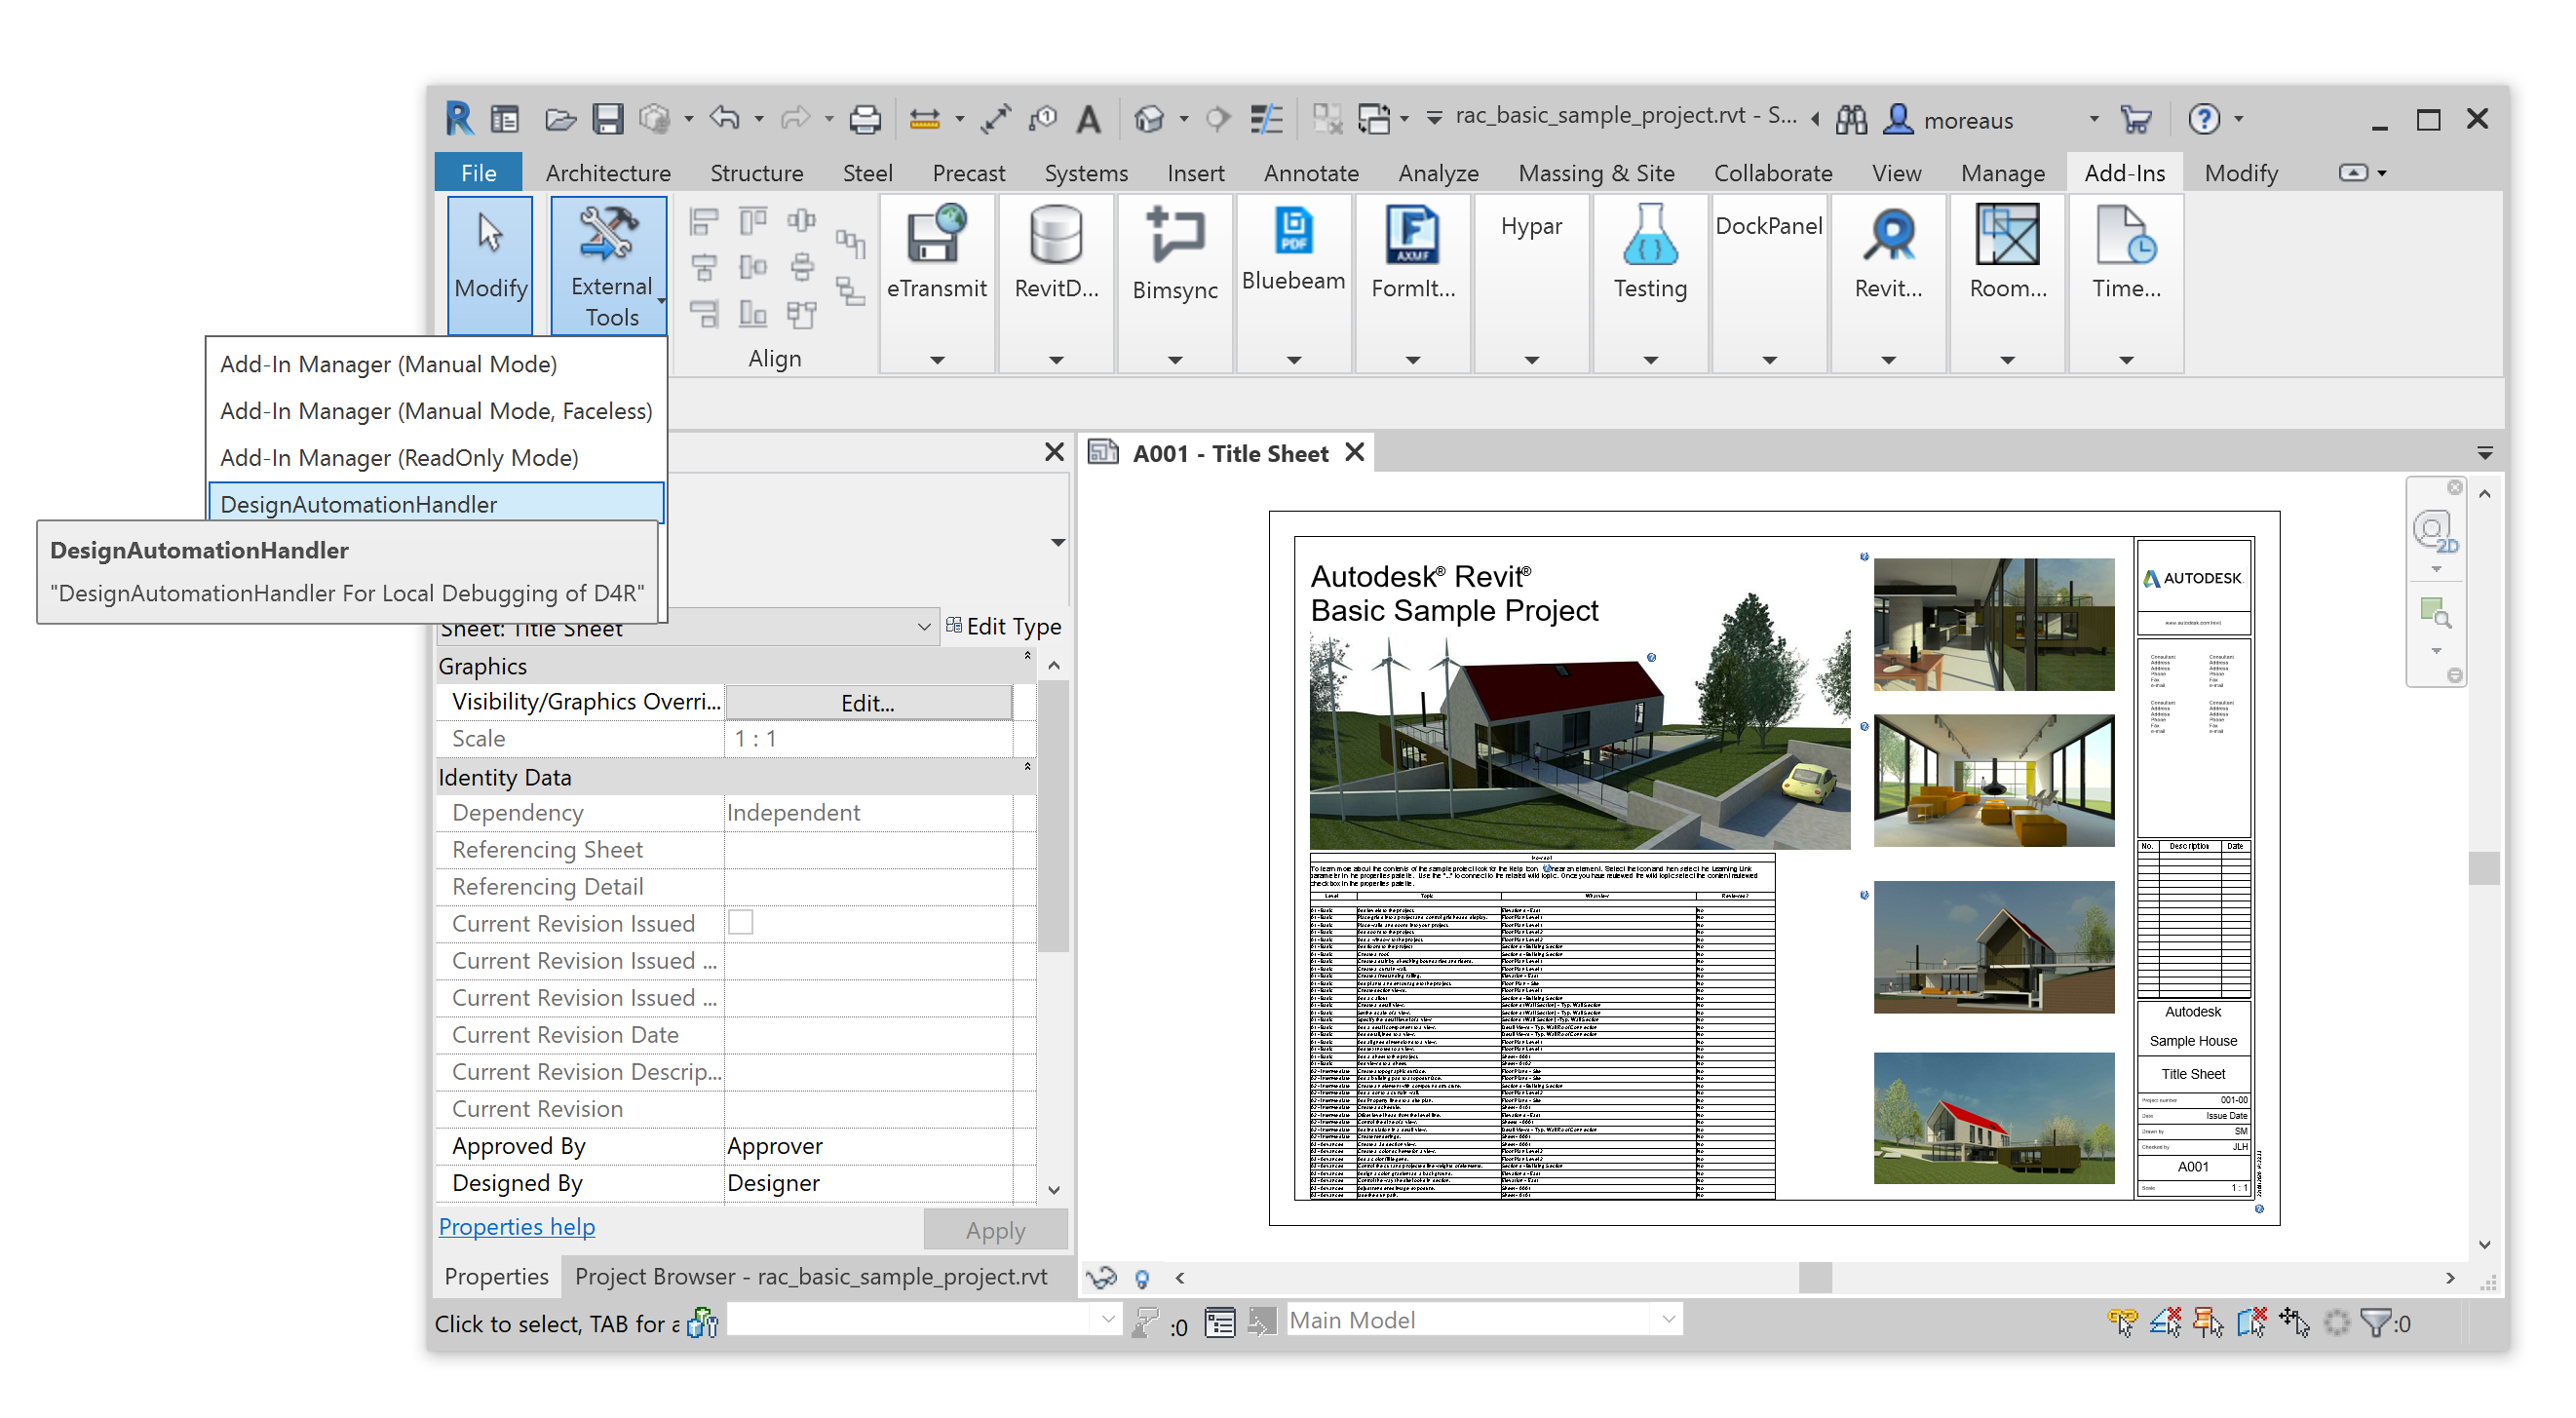
The plugin run smoothly, and the resulting IFC file is saved in the working directory.
In the next post, we will see how to create and run the Forge application.